Audi A4: Front Thorax Airbag with Igniter, Removing and Installing
 Caution
This procedure contains mandatory replaceable parts. Refer to component overview and parts catalog prior to starting procedure.
Mandatory Replacement Parts
- Bolt - Front Thorax Airbag to Backrest Frame
Removing
 WARNING
Risk of injury due to involuntary deployment.
- Pay attention to the safety precautions when working with pyrotechnic components. Refer to → Chapter "Safety Precautions when Working with Pyrotechnic Components".
- Observe the additional safety precautions for the thorax airbag. Refer to → Chapter "Additional Thorax Airbag Safety Precautions".
- Observe the disposal regulations for pyrotechnical components. Refer to → Chapter "Airbag, Belt Tensioner and Battery Cut-Out Units, Storing, Transporting and Disposing (Pyrotechnic Components)".
- Remove the backrest cover. Refer to → Chapter "Backrest Cover, Removing and Installing".
- Move the front seat to all the way forward and move the backrest forward.
- Disconnect the battery ground cable with the ignition turned on. Refer to → Electrical Equipment; Rep. Gr.27; Battery; Battery, Disconnecting and Connecting.
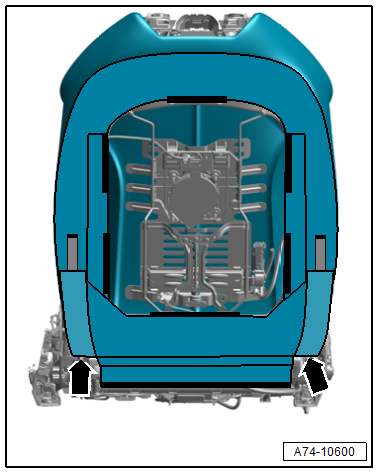
- Disengage the hooks on the backrest frame -arrows-.
- Disengage the hooks from the cover -arrows A-.
- Disengage the molding on the backrest frame -arrows B-.
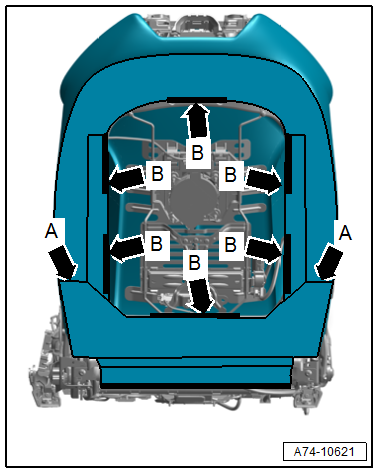
- Disengage the hooks for the side bolsters on the backrest frame -arrows-.
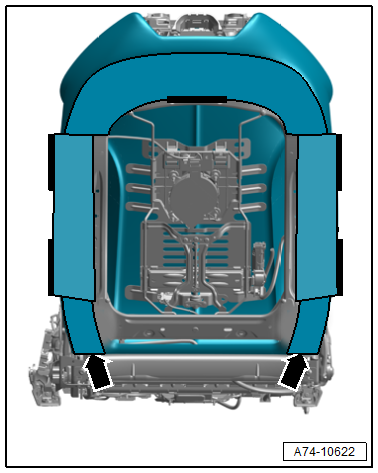
- Remove the cushion from the backrest in the area of the thorax airbag.
WARNING
Risk of injury due to involuntary deployment.
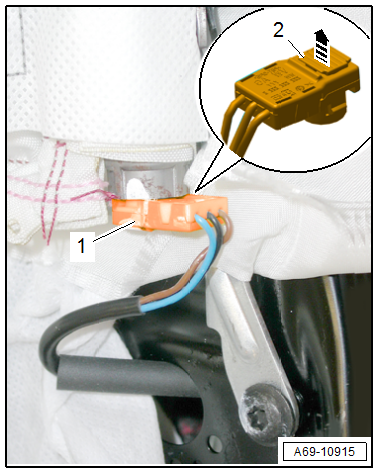
Before handling pyrotechnic components (For example, disconnecting the connector), the person handling it must "discharge static electricity". For example, this can be done by briefly touching the door striker.
- Release the connector lock -2- with a small screwdriver in the direction of -arrow-.
- Disconnect the connector -1- on the thorax airbag igniter.
- Carefully pull the cover and cushion near the thorax airbag as far forward as possible.
- Remove the bolt -4-.
- Disengage the thorax airbag -1- with the hooks -2- from the backrest frame -3-.
- Remove the thorax airbag downward from the pocket sewn into the cover.
Installing
WARNING
Risk of injury due to involuntary deployment.
- Pay attention to the safety precautions when working with pyrotechnic components. Refer to → Chapter "Safety Precautions when Working with Pyrotechnic Components".
- Before handling pyrotechnic components (For example, connecting a connector), the person handling it must "discharge static electricity". For example, this can be done by briefly touching the door striker.
Install in reverse order of removal and note the following:
WARNING
Repairing pyrotechnic components (For example the airbag and seat belt tensioner) incorrectly increases the risk of injuries due to unintentional deployments when the battery is connected.
- The ignition must be on when connecting the battery.
- Make sure that no one is inside the vehicle at the time when the battery is connected.
- Connect the battery ground cable with the ignition switched on. Refer to → Electrical Equipment; Rep. Gr.27; Battery; Battery, Disconnecting and Connecting.
 Note
Note
If the Airbag Indicator Lamp -K75- indicates a fault, check the DTC memory, erase it and check it again using the Vehicle Diagnostic Tester.
Installation instructions: For example tightening specifications, replacing components. Refer to → Chapter "Overview - Front Thorax Airbag".
READ NEXT:
 Rear Thorax Airbag with Igniter, Removing and Installing
Caution
This procedure contains mandatory replaceable parts.
Refer to component overview and parts catalog prior to
starting procedure.
Mandatory Replacement Parts
Nut - Rear Thorax Airba
Head Curtain Airbags
Overview - Head Curtain Airbag
Note
The Avant is shown.
1 - Bolt
5 Nm
Replace after removing
2 - Clip
Quantity: 2
3 - Clip
Only available with -6-
Remo
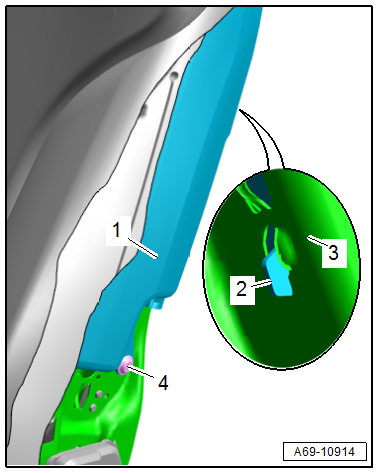
Airbag Crash Sensors
Component Location Overview - Airbag Crash Sensors
Note
The Avant is shown.
1 - Passenger Side Front Airbag Crash Sensor -G284-
Component location: on the right of the lock carrie
SEE MORE:
Instrument Panel Side Cover, Removing and Installing
Special tools and workshop equipment required
Trim Removal Wedge -3409-
Removing
- Pry off the cover -1- for the
instrument panel side cover using the -3409- in the direction of
-arrow-.
- Release the remaining retainers, pull the instrument panel cover
out of the A-pillar gap cover a
Rearview Camera -R189-, Removing and Installing
Rearview Camera -R189-, Removing and Installing, Sedan
The Rearview Camera -R189- is inside the rear lid handle
button. It permanently attached to the handle button.
If the Rearview Camera -R189- must be replaced, then the
handle button must also be replaced.
Removing
- Turn off the ignition
