Audi A4: Roof Reinforcement, Attaching to Body
Roof Reinforcement, Attaching to Body, Sedan
Special tools and workshop equipment required
- Assembly adhesive. Refer to the Parts Catalog.
Procedure
- Remove the headliner. Refer to → Chapter "Headliner, Removing and Installing, Sedan".
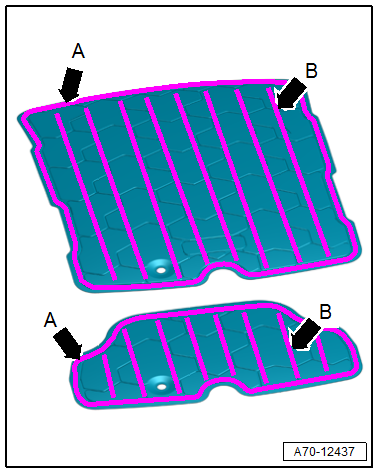
- Apply adhesive beads -arrows- to the roof reinforcement as shown in the illustration.
- Thickness of the beads on the circumference -arrows A- is approximately 7 mm.
- Thickness of the support beads -arrows B- is approximately 5 mm.
- Apply the adhesive beads according to the line markings on the roof reinforcement.
Versions Equipped with Sliding Sunroof
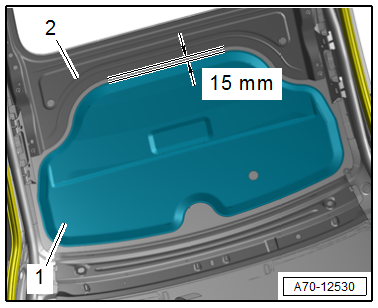
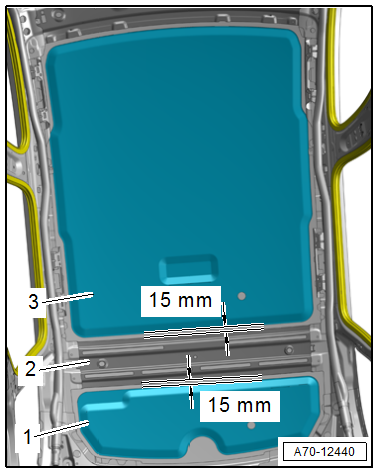
- Mount the roof reinforcement -1- centered to the outer sides and at a distance of approximately 15 mm to the bow -2- on the roof.
- Press the roof reinforcement on the roof surface.
- Wipe off any adhesive residue.
Versions without Sliding Sunroof
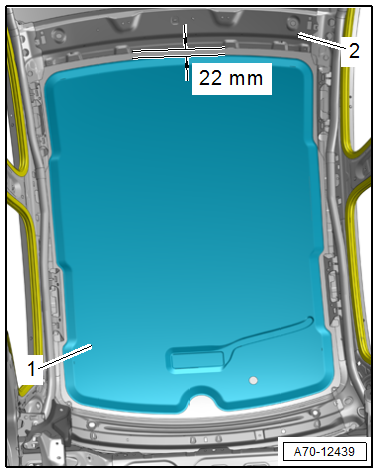
- Mount the roof reinforcement -1- centered to the outer sides and at a distance of approximately 22 mm to the bow -2- on the roof.
- Press the roof reinforcement on the roof surface.
- Wipe off any adhesive residue.
Further installation is the reverse order of removal.
Installation instructions: For example tightening specifications, replacing components. Refer to → Chapter "Overview - Headliner, Sedan".
Roof Reinforcement, Attaching to Body, Avant
Special tools and workshop equipment required
- Assembly adhesive. Refer to the Parts Catalog.
Procedure
- Remove the headliner. Refer to → Chapter "Headliner, Removing and Installing, Avant".
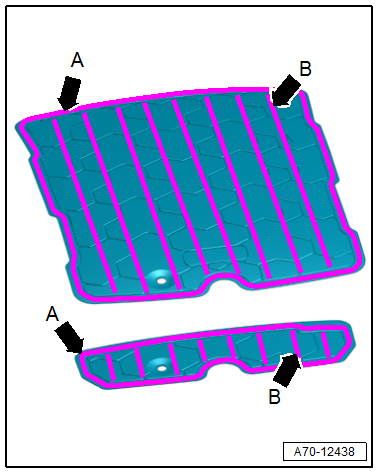
- Apply adhesive beads -arrows- to the roof reinforcement as shown in the illustration.
- Thickness of the beads on the circumference -A arrows- is approximately 7 mm.
- Thickness of the support beads -B arrows- is approximately 5 mm.
- Apply the adhesive beads according to the line markings on the roof reinforcement.
- Mount the roof reinforcement -1- centered to the outer sides and at a distance of approximately 15 mm to the bow -2- on the roof.
- Versions without sliding sunroof: mount the roof reinforcement -3- centered to the outer sides and at a distance of approximately 15 mm to the bow -2- on the roof.
- Press the roof reinforcement on the roof surface.
- Wipe off any adhesive residue.
Further installation is the reverse order of removal.
Installation instructions: For example tightening specifications, replacing components. Refer to → Chapter "Overview - Headliner, Avant".
Special Tools
Special tools and workshop equipment required
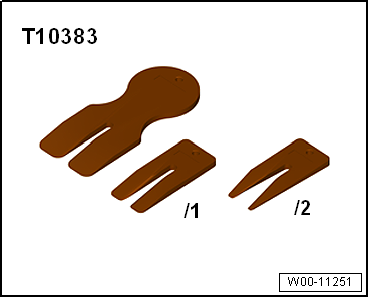
- Wedge Set -T10383-
- Wedge Set - Wedge 1 -T10383/1-
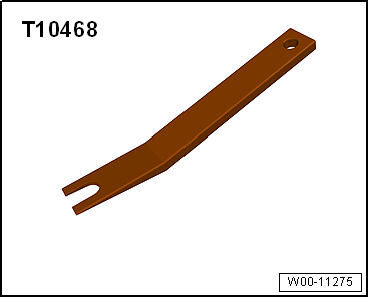
- Lever - Fuel Line -T10468-
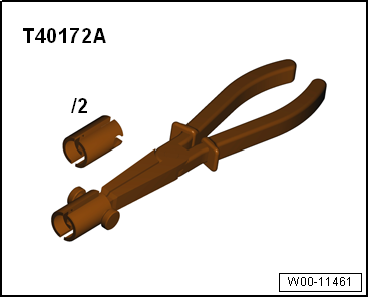
- Pliers -T40172C-
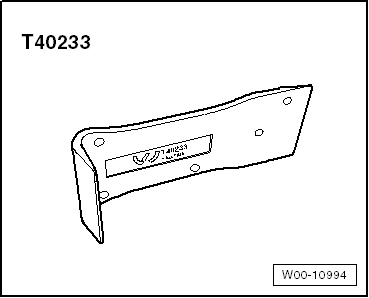
- Removal Wedge -T40233-
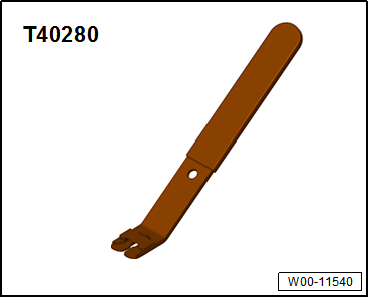
- Omega Clip Tool -T40280-
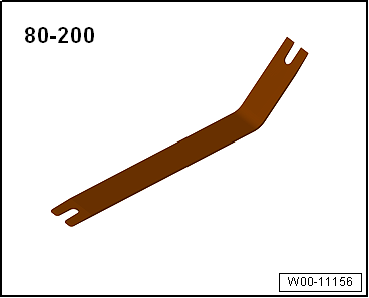
- Pry Lever -80-200-
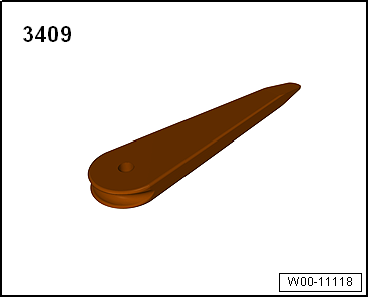
- Trim Removal Wedge -3409-
READ NEXT:
 Overview - Seat Versions
Component Location Overview - Seat Versions
Overview - Front Seat
I - Standard Seat
Equipment:
Manual seat length/height and angle adjustment
Manual backrest angle adjuster
Height-ad
Front Seats
Component Location Overview - Electric and Electronic Components
1 - Memory Seat/Steering Column Adjustment Control Module
Memory Seat/Steering Column Adjustment Control Module -J136-
Fr
SEE MORE:
Battery Charger -VAS5900-
Battery Charger -VAS5900- Device Description
The Battery Charger -VAS5900- is designed to charge all 12 V
Batteries -A- in the VW group.
Battery Charger -VAS5900-
Control Field Overview
1 - Display
2 - ↑-button "Up"
3 - ↓-button "Down"
4 - START/STOP-bu
Need for Axle Alignment, Evaluating
A wheel alignment is necessary if:
Vehicle shows handling problems.
Involved in an accident.
If axle components were removed and installed or replaced.
Tire wear patterns are uneven.
After REMOVING and REINSTALLING components.
1) When the subframe crossbrace
was secured with the locating p
