Audi A4: Center Folding Backrest Trim Panel, Removing and Installing
Special tools and workshop equipment required
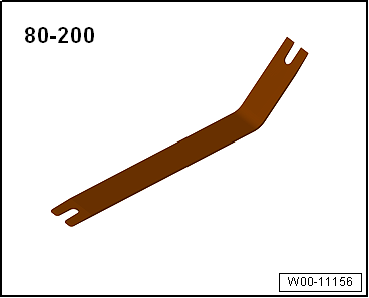
- Pry Lever -80-200-
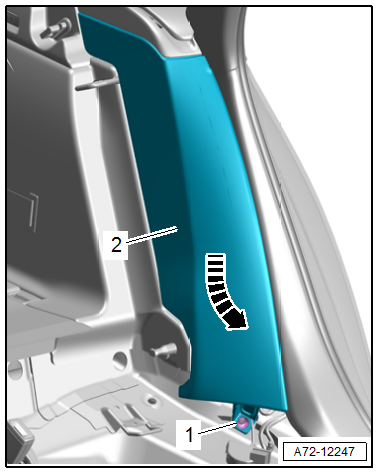
Removing
- Remove the center armrest. Refer to → Chapter "Center Armrest, Removing and Installing".
- Remove the cushion cover for the center folding backrest. Refer to → Chapter "Center Folding Backrest Cushion Cover, Removing and Installing".
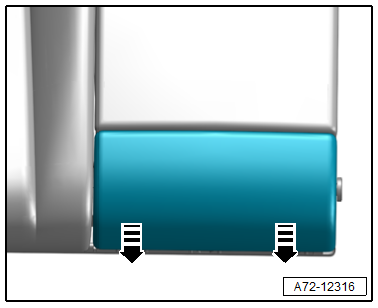
- Remove the center cushion downward in the direction of -arrows-.
- Disengage the cloth trim molding from the trim panel -arrows-.
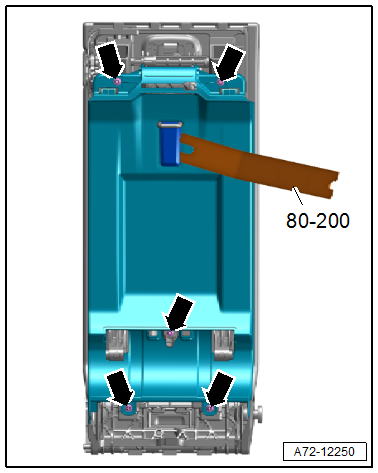
- Use the -80-200- to unclip the catch trim.
- Remove the bolts -arrows-.
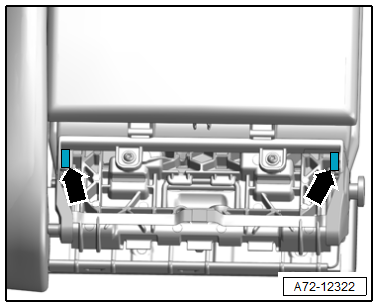
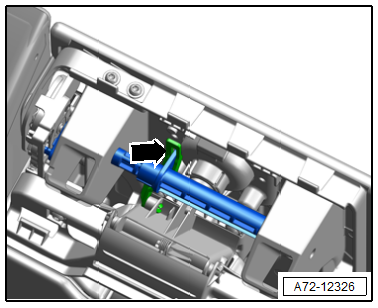
- Carefully disengage the center folding backrest trim panel from the release lever -arrow- when lifting.
Center Folding Backrest Cushion Cover, Removing and Installing
Special tools and workshop equipment required
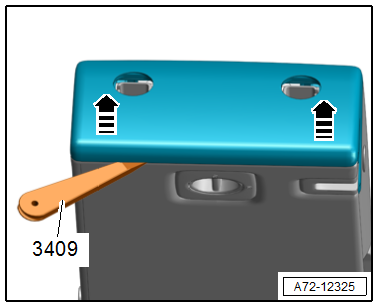
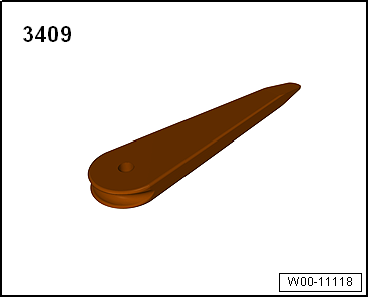
- Trim Removal Wedge -3409-
Removing
- Remove the headrest guides. Refer to → Chapter "Headrest Guide, Removing and Installing, Center Folding Backrest".
- Carefully unclip the cushion cover upward from the center folding backrest in the direction of -arrows- using the -3409-.
Installing
Install in reverse order of removal.
Installation instructions: For example tightening specifications, replacing components. Refer to → Chapter "Overview - Rear Seat Backrest, Center Folding Backrest".
Folding Backrest Latch Trim, Removing and Installing
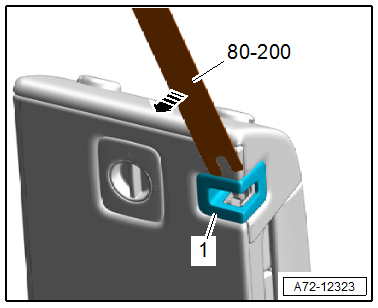
Special tools and workshop equipment required
- Pry Lever -80-200-
 Note
Note
The trim cannot be removed without destroying it.
Removing
- Fold the folding backrest forward.
- Remove the trim -1- using the -80-200--arrow-.
Installing
Install in reverse order of removal.
Installation instructions: For example tightening specifications, replacing components. Refer to → Chapter "Overview - Rear Seat Backrest, Center Folding Backrest".
Center Bracket, Removing and Installing
Removing
- Remove the bench seat. Refer to → Chapter "Bench Seat/Single Seat, Removing and Installing".
- Fold the folding backrests forward.
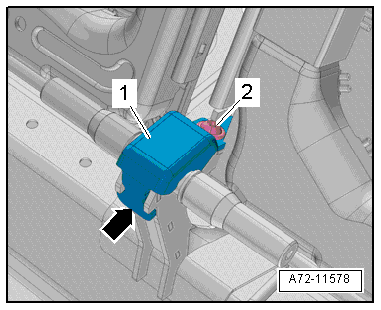
- Remove the bolt -2-.
- Remove the securing bracket -1- from the center support -arrow-.
Note
Shown without the cushion and cover for clarity.
Note
Disengaging the rear seat backrest from the mountings will be enough.
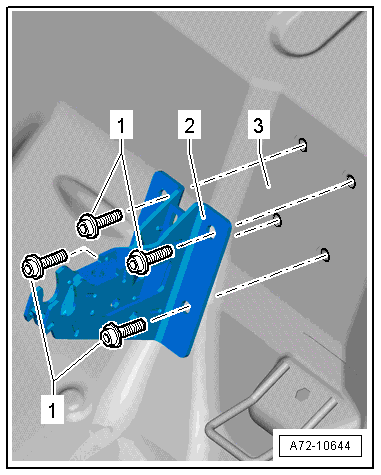
- Remove the bolts -1-.
- Remove the center support -2- from the underbody -3-.
Installing
Install in reverse order of removal.
Installation instructions: For example tightening specifications, replacing components. Refer to → Chapter "Overview - Rear Seat Backrest, Folding Backrest".
Center Armrest, Removing and Installing
Center Armrest, Removing and Installing
Removing
Special tools and workshop equipment required
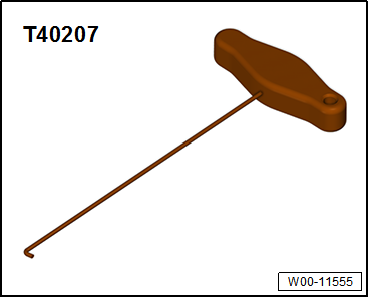
- Hook Tool -T40207-
- Pry Lever -80-200-
Removing
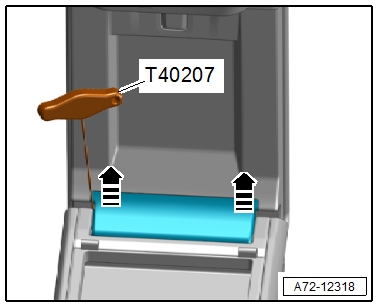
- Flip up the center armrest.
- Remove the hinge trim at the left and right sides using the -T40207--arrows-.
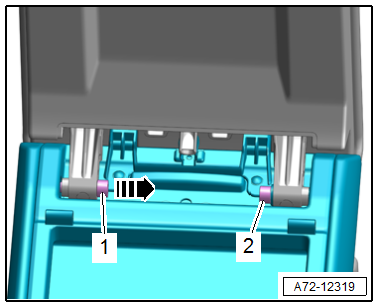
- Remove the screw -2- and then remove the thrust washers and washer.
- Remove the hinge pin -1- in the direction of -arrow-, using the -80-200- if required.
- Remove the center armrest.
Installing
Install in reverse order of removal.
Installation instructions: For example tightening specifications, replacing components. Refer to → Chapter "Overview - Center Armrest".
Center Armrest Cupholder, Removing and Installing
Removing
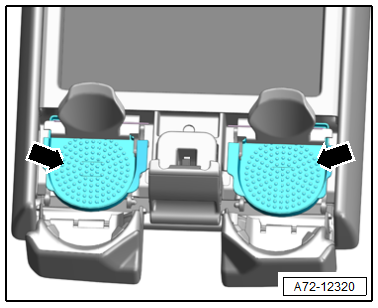
- Push the left and right trim -arrows- slightly toward the rear and remove.
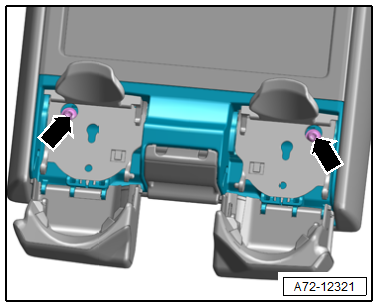
- Remove the bolts -arrows-.
- Pull the cupholder slightly forward and tilt it upward and out over the release.
Installing
Install in reverse order of removal.
Installation instructions: For example tightening specifications, replacing components. Refer to → Chapter "Overview - Center Armrest".
Side Cushion, Removing and Installing
Side Cushion without Thorax Airbag, Removing and Installing
Removing
- Remove the rear bench seat. Refer to → Chapter "Bench Seat/Single Seat, Removing and Installing".
- Remove the nut -1-.
- Hold the seat belt webbing aside and remove the side cushion -2- downward from the threaded pins.
- Fold the rear seat backrest forward.
- Pull the side cushion downward and remove it from the seat belt guide -arrow-.
Installing
Install in reverse order of removal.
Installation instructions: For example tightening specifications, replacing components. Refer to → Chapter "Overview - Rear Seat Backrest, Folding Backrest".
Side Cushion with Thorax Airbag, Removing and Installing
Note
The side cushion with thorax airbag can be identified by the "Airbag" name badge in the cover.
The procedure is described under: Rear Thorax Airbag, Removing. Refer to → Chapter "Rear Thorax Airbag with Igniter, Removing and Installing".
Special Tools
Special tools and workshop equipment required
- Hook Tool -T40207-
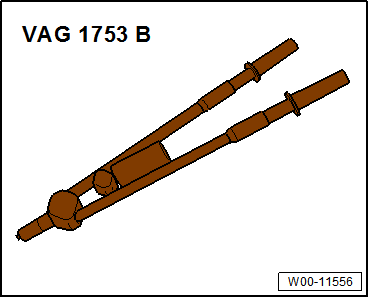
- Pop Rivet Pliers -VAG1753B-
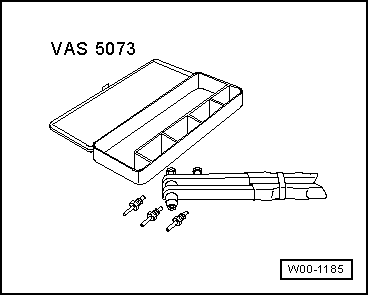
- Pop Rivet Nut Pliers -VAS5073A-
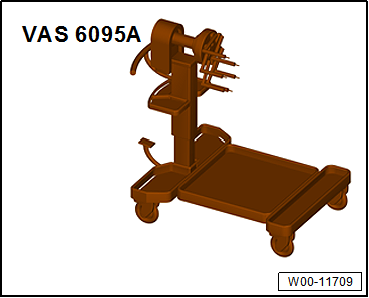
- Engine and Transmission Holder -VAS6095A-
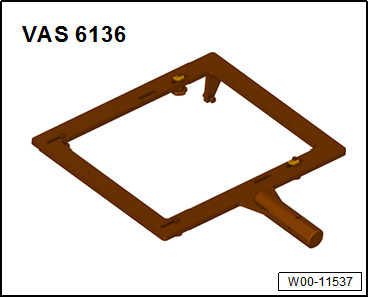
- Engine/Transmission Holder - Seat Repair Fixture -VAS6136-
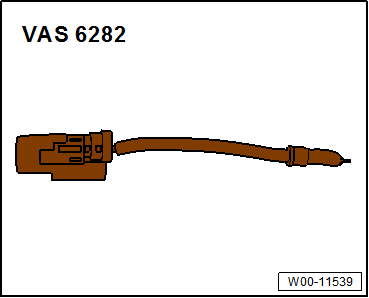
- Airbag Lockout Adapter -VAS6282-
- Pry Lever -80-200-
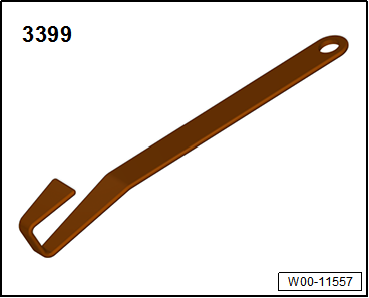
- Assembly Tool -3399-
- Trim Removal Wedge -3409-
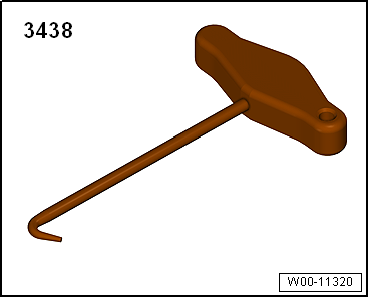
- T-Handle Hook -3438-
- Not illustrated:
- Universal Vehicle Protector -VAS871001-
READ NEXT:
 Front Seat Covers and Cushions
Overview - Seat Pan Cover and Cushion
Overview - Seat Pan Cover and Cushion, Seat without Seat Depth Adjuster
1 - Seat Pan
2 - Cushion
Covers and cushions, removing and installi
Seat Pan Cover and Cushion, Removing and Installing
Special tools and workshop equipment required
Backrest Panel Tool -3370-
Hook Tool -T40207-
Engine/Transmission Holder - Seat Repair Fixture -VAS6136-
Caution
This procedure contains man
SEE MORE:
Thorax Airbags
Overview - Front Thorax Airbag
1 - Front Thorax Airbag
With
Driver Thorax Airbag Igniter -N199-
Front Passenger Thorax Airbag Igniter -N200-
WARNING
Risk of injury due to involuntary deployment.
Pay attention to the safety precautions when working with
pyrotechnic compone
Electronic Damping
Component Location Overview - Electronic Damping
1 - Front Level Control System Sensor
Left Front Level Control System Sensor -G78-
Right Front Level Control Sensor -G289-
Overview. Refer to
→ Chapter "Overview - Front Level Control System Sensor".
2 - Shock Absor
