Audi A4: Seals
Component Location Overview - Gaskets
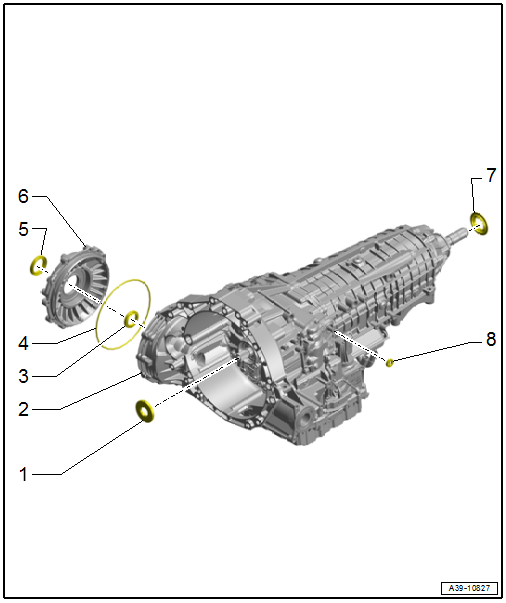
1 - Input Shaft Seal
- Replacing. Refer to → Servicing - 7-Speed Dual Clutch Transmission 0CJ, 0CK, 0CL; Rep. Gr.39; Seals; Input Shaft Seal, Replacing.
2 - Transmission
3 - Left Flange Shaft Seal
- Replacing. Refer to → Chapter "Left Seal, Replacing".
4 - O-Ring
- Replace after removing
5 - Right Flange Shaft Seal
- Replacing. Refer to → Chapter "Right Seal, Replacing".
6 - Final Drive Cover
- Removing and installing. Refer to → Servicing - 7-Speed Dual Clutch Transmission 0CJ, 0CK, 0CL; Rep. Gr.39; Gaskets; Left Gasket, Replacing.
7 - Transmission Output Shaft Seal
- Only for AWD
- Replacing. Refer to → Servicing - 7-Speed Dual Clutch Transmission 0CJ, 0CK, 0CL; Rep. Gr.39; Center Differential; Transmission Output Shaft Seal, Replacing.
8 - Parking Lock Shaft Seal
- Replacing. Refer to → Chapter "Parking Lock Shaft Seal, Replacing".
Left Seal, Replacing
 Note
Note
A defective seal will allow gear oil to enter the transmission bell housing.
Special tools and workshop equipment required
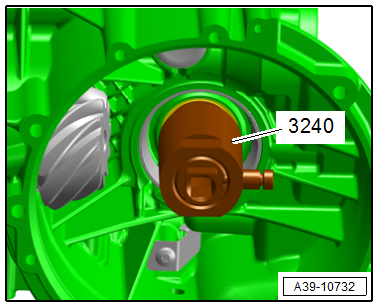
- Puller - Camshaft Seal -3240-
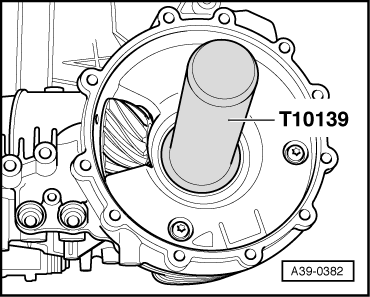
- Seal Installer - Final Drive/Gearbox -T10337-
Procedure
Note
- General repair instructions. Refer to → Chapter "Repair Information".
- Guidelines for clean working conditions. Refer to → Chapter "Guidelines for Clean Working Conditions".
- Drain the transmission fluid. Refer to → Chapter "Transmission Fluid, Draining and Filling".
- Remove the right flange shaft. Refer to → Chapter "Right Flange Shaft, Removing and Installing".
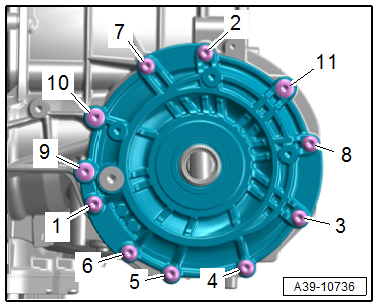
- Remove the bolts from the front final drive cover in the following sequence: -11 to 1-.
- Remove the front final drive cover together with the tapered roller bearing outer race and the shim.
Note
The shim must be the correct size and must not be replaced by a shim with a different thickness.
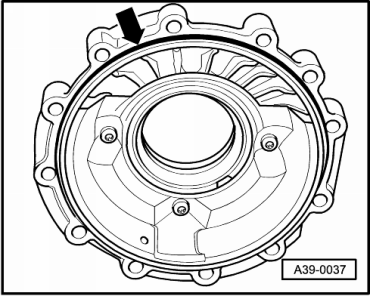
- Remove the differential -arrow-.
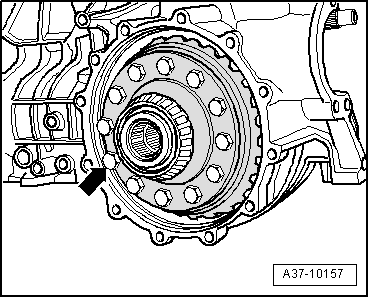
- Remove the outer race for the differential tapered roller bearing -1- and the shim -2- located behind it from the transmission housing by hand.
Note
The shim must be the correct size and must not be replaced by a shim with a different thickness.
- Remove the left flange shaft slightly from the transmission but do not remove completely. Refer to → Chapter "Left Flange Shaft, Removing and Installing".
- Position the inner section of the Puller - Camshaft Seal -3240- flush with the outer section and lock the inner section using the knurled bolt -arrow-.
- Lubricate the puller threads, position, and using strong pressure insert the puller - camshaft seal as far as possible in the seal until the seal turns.
- Turn the puller - camshaft seal further and at the same time pull until the seal is removed.
- Tension the puller - camshaft seal on the flat side in a vise and remove the seal using pliers.
- Check the seal in the transmission housing for damage and rework if necessary.
- Clean the running and sealing surface.
- Coat the outer circumference of the seal sealing lip with gear oil.
Note
Push the seal onto the thrust piece so that the projecting sealing lip of seal faces the tool.
- Install the new seal all the way.
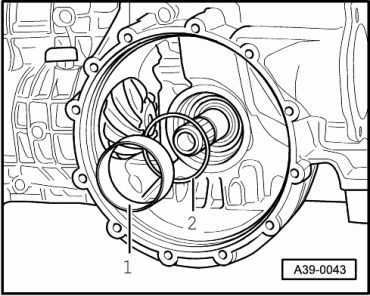
- Insert the shim -2- and the outer race -1- for the differential tapered roller bearing into the transmission housing by hand as far as the stop.
- Replace the O-ring -arrow-.
- Insert the differential into the transmission housing.
If the tapered roller bearing outer race and the shim have fallen out of the front final drive cover:
- Lubricate the shim and tapered roller bearing outer race with gear oil and insert them into the front final drive cover as far as the stop.
- Install the left flange shaft. Refer to → Chapter "Left Flange Shaft, Removing and Installing".
- Tighten the front final drive cover bolts. Refer to → Fig. "Final Drive Cover - Tightening Specification and Sequence".
- Install the right flange shaft. Refer to → Chapter "Right Flange Shaft, Removing and Installing".
- Fill the transmission fluid and check the level. Refer to → Chapter "Transmission Fluid, Draining and Filling".
Right Seal, Replacing
Special tools and workshop equipment required
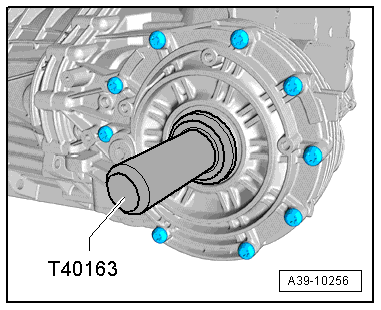
- Seal Installer - Flange Shaft -T40163-
- Sealing Grease -G 052 128 A1-
Removing
- The transmission is installed.
- Remove the right flange shaft. Refer to → Chapter "Right Flange Shaft, Removing and Installing".
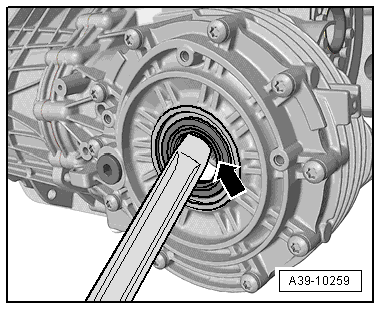
- Pry out the flange shaft seal.
Installing
Install in the reverse order of removal while noting the following:
- Lightly oil the new gasket on the outer edge.
- Drive in the seal all the way without tilting using the Seal Installer - Flange Shaft -T40163-.
- Fill the space between the sealing/dust lip halfway with Sealing Grease -G 052 128 A1-.
- Install the right flange shaft. Refer to → Chapter "Right Flange Shaft, Removing and Installing".
READ NEXT:
 Differential
Overview - Differential
1 - Left Flange Shaft Seal
Replacing. Refer to
→ Chapter "Left Seal, Replacing".
2 - Shim
Behind the taper roller bearing outer race
3 -
Center Differential
Overview - Center Differential
1 - O-Ring
Replacing
Coat with transmission fluid
2 - Plug
For the hole for checking and filling
For the transmission fluid inside the transf
Special Tools
Special tools and workshop equipment required
Seal Installer - Final Drive/Gearbox -T10337-
Puller - Crankshaft/Power Steering Seal -T20143/1-
Seal Installer - Flange Shaft -T40163-
Seal Install
SEE MORE:
Seat Belts
Component Location Overview - Seat Belts and Mounting Points
Note
The Avant is shown.
1 - Front Belt End Fitting
Overview. Refer to
→ Chapter "Overview - Front Three-Point Seat Belt".
2 - Automatic Belt Retractor
For the front three-point seat belt
With:
General Safety Precautions
As per VBG 20, German industrial liability insurance
association.
Pay attention to the workshop-specific instructions. It
should be kept in the workshop.
Product Characteristics
Refrigerants used in motor vehicle air conditioning systems
belong to the new generation of refrigerants based on
