Audi A4: Door Windows
Overview - Front Door Window
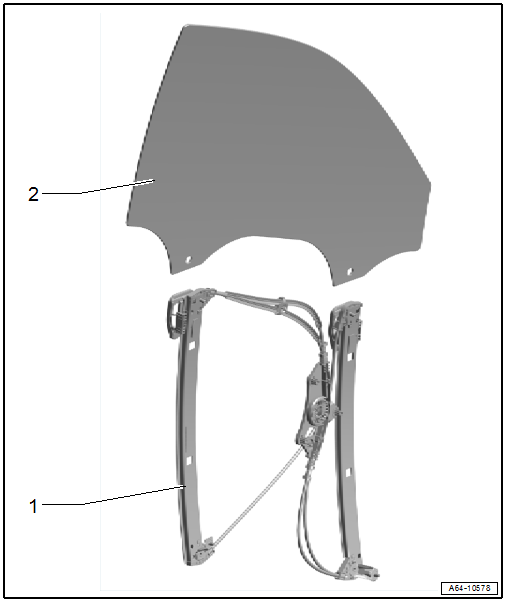
1 - Window Regulator
- Overview. Refer to → Chapter "Overview - Window Regulator".
2 - Door Window
- Removing and installing. Refer to → Chapter "Front Door Window, Removing and Installing".
Overview - Rear Door Window
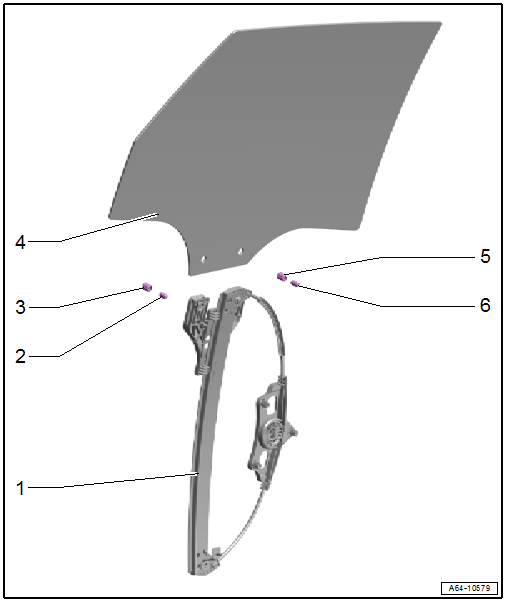
1 - Window Regulator
- Overview. Refer to → Chapter "Overview - Window Regulator".
2 - Clamping Pin
3 - Pin
- Pins can be re-used.
4 - Door Window
- Removing and installing. Refer to → Chapter "Rear Door Window, Removing and Installing".
5 - Pin
- Pins can be re-used.
6 - Clamping Pin
Front Door Window, Removing and Installing
Removing
- Remove the inner window shaft strip. Refer to → Chapter "Inner Window Shaft Strip, Removing and Installing".
- Remove the window regulator motor. Refer to → Chapter "Window Regulator Motor, Removing and Installing".
- Remove the door inner cover. Refer to → Chapter "Door Inner Cover, Removing and Installing".
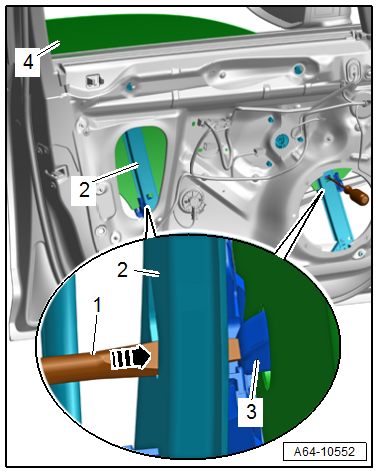
- Move the door window -4- downward until the driver catch -3- is flush with the opening in the window regulator -2-.
- Release the catch through the opening and through the hole in the door window -arrow- using a screwdriver -1- for example, and at the same time, remove the door window upward from the driver.
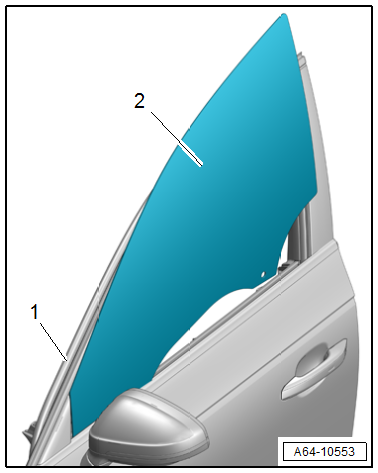
- Tip the door window forward at an angle and pull it upward out of the window guide.
Installing
Install in reverse order of removal and note the following:
- Insert the door window -2- forward at an angle into the door window guide -1-.
- Align the door window in the front and rear window guides and push the door window downward.
- Press the door window downward into the driver.
- The drivers engage in the door window at the same time.
Rear Door Window, Removing and Installing
Special tools and workshop equipment required
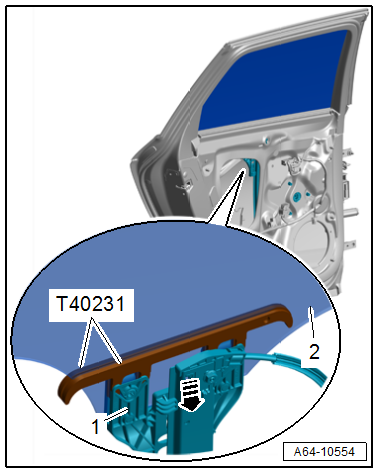
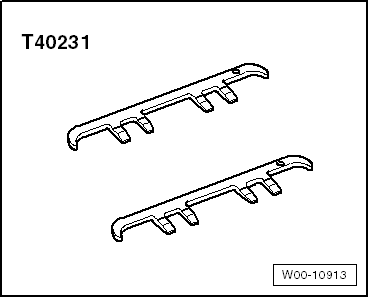
- Use the Side Window Removal Tool -T40231- for standard windows.
Removing
- Remove the inner window shaft strip. Refer to → Chapter "Inner Window Shaft Strip, Removing and Installing".
- Remove the outer window shaft strip. Refer to → Chapter "Outer Window Shaft Strip, Removing and Installing".
- Remove the window regulator motor. Refer to → Chapter "Window Regulator Motor, Removing and Installing".
- Remove the door inner cover. Refer to → Chapter "Door Inner Cover, Removing and Installing".
- Insert the -T40231- on both sides of the door window -2- and push it downward at the mount on the window regulator -1--arrow-.
- The mount on the window regulator bends far enough so that the door window can be lifted upward with the mounting pin.
- Remove the door window -2- upward from the mount and remove it from the door.
Installing
Install in reverse order of removal and note the following:
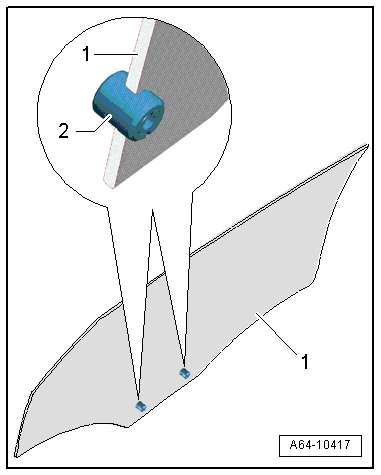
- Install the mounting pins -2- in the center of the door window -1- and push the clamping pin in so that it is flush.
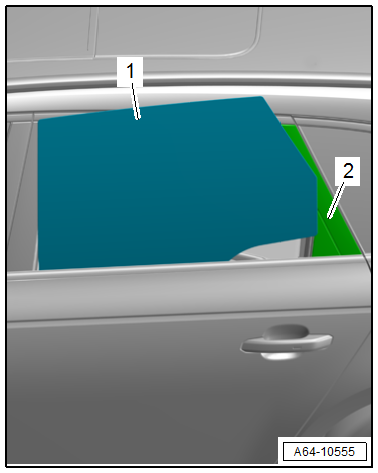
- Insert the door window -1- forward at an angle into the door window guide -2-.
- Align the door window in the front and rear window guides and push the door window downward.
- Press the door window downward into the driver.
- The drivers engage in the door window at the same time.
Special Tools
Special tools and workshop equipment required
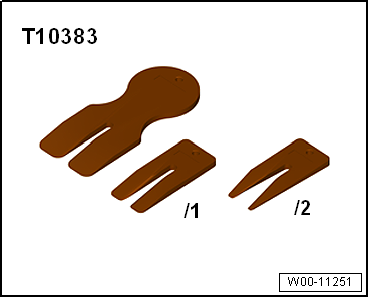
- Wedge Set -T10383-
- Use the Side Window Removal Tool -T40231- for standard windows.
- Wedge 1 -T10383/1-
- Double Suction Lifter -VAG1344-

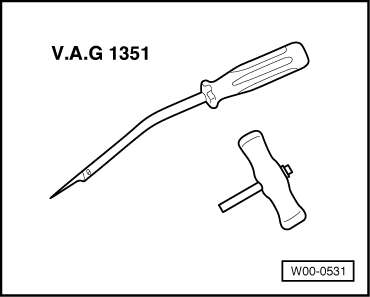
- Bonded Window Tool Kit -VAG1351-
- Bonded Window Tool Kit - Pull Handle -VAG1351/1-
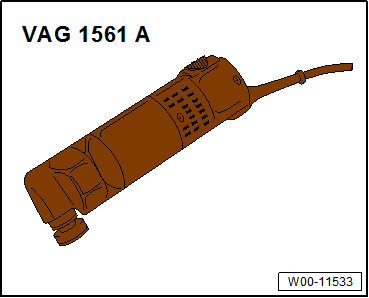
- Window Cutter -VAG1561A-
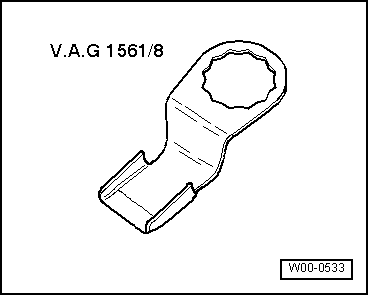
- Window Cutter - Scraper (2 pc.) -VAG1561/7+8-
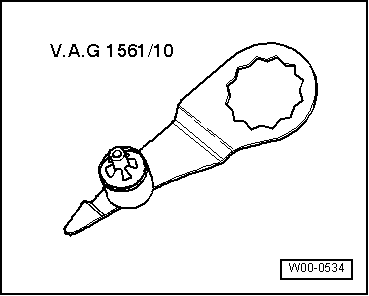
- Blade Offset -VAG1561/10-
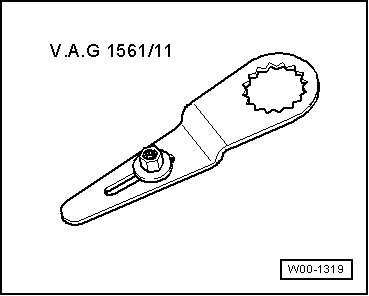
- Window Cutter - Universal Blade (2 pc.) -VAG1561/11-
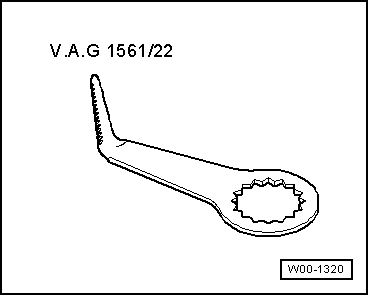
- Window Cutter - L Blade (2 pc.) -VAG1561/22-
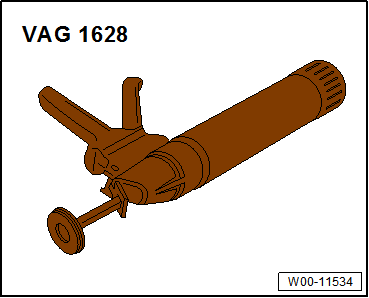
- Cartridge Gun -VAG1628-
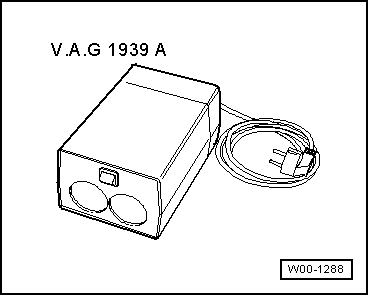
- Cartridge Heater -VAG1939A-
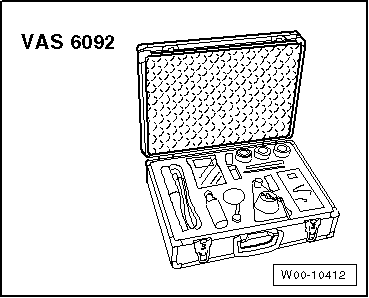
- Window Repair Kit -VAS1993- or Windscreen Repair Set -VAS6092-
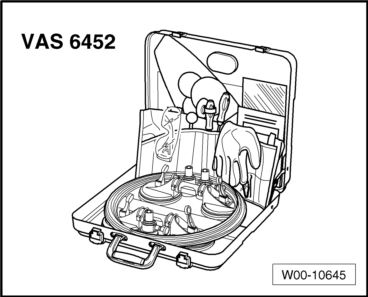
- Cutting Tool for Bonded Windows -VAS6452-
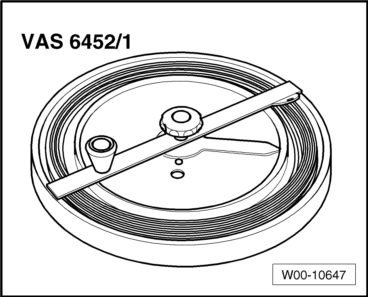
- Cutting Tool for Bonded Windows - Wire Reel -VAS6452/1-
- Cutting Tool for Bonded Windows - Wire -VAS6452/2-
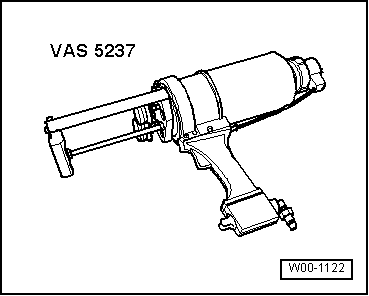
- Double Cartridge Adhesive Gun -VAS5237-
- Not illustrated:
- Cutting Tool for Bonded Windows -VAS6452-
- Cutting Tool for Bonded Windows - Wire Reel -VAS6452/1-
READ NEXT:
 Radiator Grille/Front Trim
Overview - Radiator Grille
1 -
Emblem
Overview. Refer to
→ Chapter "Overview - Name Badges and Emblems".
2 -
Cover
For the front camera
3 -
Radiator Grill
Spoiler
Overview - Spoiler
1 -
Adhesive Tape
2 -
Front Foam Seal
3 -
Nut
4 Nm
Quantity: 4
4 -
Foam Seal
For the securing pin
Quantity: 3
5 -
Foam Se
SEE MORE:
Upper Control Arm, Removing and Installing
Special tools and workshop equipment required
Vehicle Diagnostic Tester
Torque Wrench 1331 5-50Nm -VAG1331-
Torque Wrench 1331 Insert - Ring Wrench - 16mm -VAG1331/12-,
not illustrated
Torque Wrench 1332 40-200Nm -VAG1332-
Engine and Gearbox Jack -VAS6931-
Engine/Gearbox Jack Adapter - Wheel
Subframe, Securing
Special tools and workshop equipment required
Torque Wrench 1331 5-50Nm -VAG1331-
Torque Wrench 1332 40-200Nm -VAG1332-
Engine and Gearbox Jack -VAS6931-
Gearbox Support -T40173-
Locating Pins -T40327-, not illustrated
Engine Support Bridge -10-222A-
Procedure
WARNING
There is a ris
